Zone Air Multi-Zone: Can I Mix Wall, Cassette, and Ducted Heads?
Yes, a multi-zone mini split system can sometimes combine wall-mounted heads, a ceiling cassette mini split, and a ducted air handler mini https://www.re-thinkingthefuture.com/article/best-diy-mini-split-for-cold-climate-heating-in-2026/ split. The important word is sometimes: indoor units must be specifically approved for the outdoor unit and control system you’re buying. A set of heads that look compatible—or share a brand name—may not work together.
Before ordering, check the exact outdoor-unit model, approved indoor-unit combinations, connection sizes, branch-box requirements, and total capacity limits. Those details determine whether your mixed setup will start, communicate, heat and cool as expected. This guide covers how to plan the combination, what “DIY” installation really involves, and how to compare options from Zone Air, MRCOOL, and Senville.
Can You Mix Different Types of Multi-Zone Mini Split Heads?
Many multi-zone product families offer several indoor-unit styles. A homeowner might use a wall head in a bedroom, a cassette in an open living area, and a concealed ducted unit to serve a hallway or multiple small rooms. That can make for a cleaner, more tailored installation than using wall units everywhere.
But indoor-unit style alone doesn’t determine compatibility. Each head needs to be approved for the specific outdoor unit, and the system must support the chosen combination. Depending on the product, it may also require a manufacturer-approved branch box, particular piping arrangements, or specific control wiring.
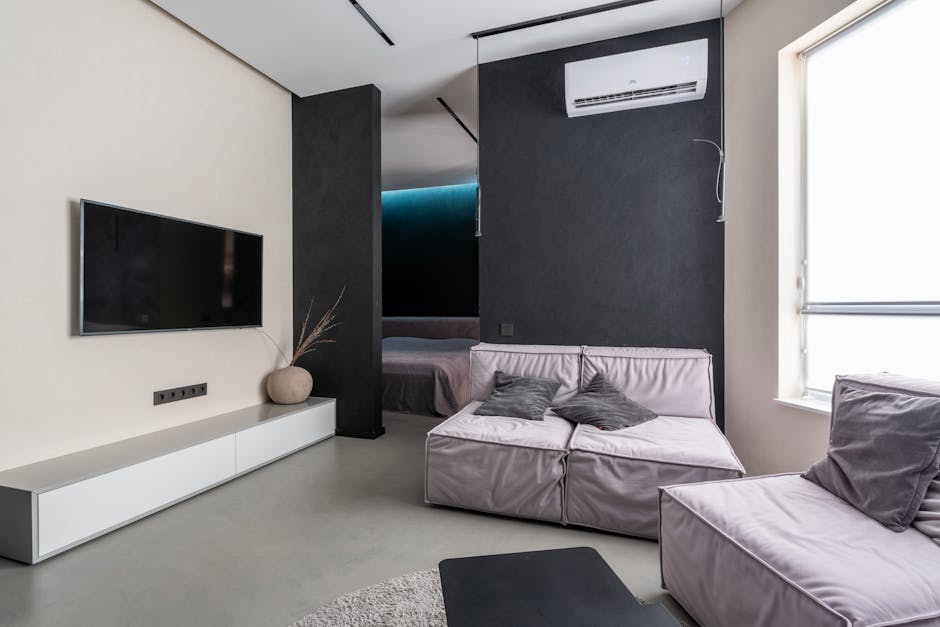
- Wall-mounted heads: Usually the simplest to install and service, with visible indoor units mounted high on a wall.
- Ceiling cassette mini split units: Set into a suitable ceiling opening, they distribute air in multiple directions. They need ceiling space, a condensate-drain plan, and appropriate structural support.
- Ducted air handler mini split units: Concealed above a ceiling or in another suitable space and connected to ductwork. They can serve one zone or, when designed for it, distribute air through several outlets.
Before choosing a combination, get the manufacturer’s approved pairing information for the exact model numbers. Don’t assume that a 12,000 BTU wall head, a 9,000 BTU cassette, and a ducted unit can simply be connected to any outdoor unit with three ports.
Compatibility and Capacity: Check More Than the Number of Ports
A multi-zone condenser’s port count is only a starting point. The indoor units must match the outdoor unit’s approved capacity range and connection requirements. Manufacturers may limit which combinations can operate together, how much connected indoor capacity is allowed, and how the system behaves when several zones call for heating or cooling at once.
There’s also an important difference between the combined nameplate capacity of the indoor heads and the output the outdoor unit can provide at a given moment. Some systems allow the indoor-unit ratings to add up to more than the condenser’s nominal capacity because not every zone is expected to demand full output simultaneously. That does not mean the outdoor unit can deliver every head’s maximum capacity at once.
Ask the supplier or manufacturer to confirm the proposed combination in writing. Give them the outdoor model number, each indoor model number, the intended room sizes, and the approximate line-set lengths. Also verify whether the ducted unit needs a separate controller or has minimum airflow and static-pressure requirements.
Item to verify Why it matters Approved indoor/outdoor combination Prevents communication, operating, or warranty problems. Capacity range and simultaneous output Helps determine whether the system can meet demand when zones run together. Refrigerant piping and branch-box rules Each model family has specific connection and piping requirements. Electrical supply Voltage, circuit size, disconnect, and wiring must match the equipment nameplates and installation instructions. Condensate drainage and access Cassettes and ducted units need a dependable drain and room for service.True DIY vs. Flare Installation Reality
“DIY mini split” can describe very different jobs. Some systems use factory-prepared quick-connect lines intended to reduce the amount of refrigerant-side work an installer performs. Other systems use standard flare connections that must be cut or prepared, flared to the correct dimensions, and tightened to the manufacturer’s specified torque.
A flare installation is not simply a matter of threading two nuts together. A poor flare, contaminated line, incorrect torque, or damaged connection can cause a refrigerant leak. Refrigerant work also has legal and safety requirements that vary by location and task. Check local rules and the manufacturer’s warranty terms before doing any work yourself.
For a conventional flare system, an installer commonly uses a Vacuum pump and Manifold gauges as part of the evacuation and commissioning process. The exact procedure and acceptance criteria are manufacturer-specific; some installations also require additional measurement equipment. Do not substitute guessing, a pressure check alone, or a quick “it seems to cool” test for the required commissioning steps.
Quick-connect designs can simplify certain steps, but they don’t make the entire job risk-free or eliminate the need to follow installation instructions. You still need to select the correct line-set lengths, route and protect the piping, handle condensate, mount the equipment securely, and meet electrical requirements. A multi-zone installation adds more connections and more opportunities for a mismatch or installation error.
- Confirm the exact approved combination before buying.
- Read the complete installation manual, not just the sales listing.
- Plan line-set routes, clearances, drainage, and service access.
- Follow local electrical and refrigerant rules; use a qualified professional where required.
- Complete the manufacturer’s required leak checks, evacuation, and commissioning steps.
Cold-Climate Ratings and Capacity Drop
A system’s headline heating capacity does not tell the whole story in a cold climate. Heat-pump capacity and efficiency can change as outdoor temperatures fall. Look for published performance data at the temperatures your home actually experiences—not just a broad “operates down to” claim.
Operating-temperature range and heating capacity are different things. A unit may continue running at a low outdoor temperature while delivering less heat than it does in milder weather. Defrost cycles, wind exposure, installation quality, and the building’s heat loss also affect comfort. If the system is expected to carry the home through winter, compare low-temperature capacity data with a room-by-room or whole-home heating-load calculation.
When mixing multi-zone mini split heads, also ask how low-ambient heating performance is affected when several zones operate at once. A condenser shared by multiple indoor units has to allocate its available output among them. Oversizing or undersizing based on summer cooling alone can leave winter comfort short.
Zone Air vs. MRCOOL: Value and Features
Compare complete system details rather than brand names alone. A useful comparison includes the approved head choices, cold-weather performance data, included line sets, warranty conditions, controller options, electrical requirements, and who will handle service if something goes wrong.

Zone Air may appeal to buyers who want to compare equipment and pricing directly. As a reference point, Zone Air 12,000 BTU single zone typical price: ~$1,999 direct. Treat that as an example, not a quote for a multi-zone system: adding indoor heads, longer line sets, electrical work, mounting materials, or professional installation can change the total significantly.
MRCOOL is often considered by shoppers looking for DIY-oriented options, including product lines marketed around simplified connections. Check the specific series and model: not every MRCOOL system uses the same installation approach, and a DIY feature on a single-zone product does not prove that a mixed-head multi-zone setup is supported. Confirm exactly which indoor styles can pair with the selected condenser.
Senville is another brand buyers may encounter when comparing ductless systems and indoor-unit options. As with Zone Air and MRCOOL, evaluate the model-specific capacity tables, installation requirements, warranty terms, and local service availability. A lower equipment price may not be the better value if the desired head style or cold-weather performance is unavailable in the compatible system family.
115V Plug-In Convenience vs. 230V Hardwire Costs
A 115V plug-in system can be attractive for a small space when the exact model is designed for that supply and the installation location has a suitable receptacle. It can reduce the need for a new dedicated circuit in some situations, but the circuit still needs to meet the equipment instructions and local electrical code. Don’t use an extension cord or assume that any nearby outlet is adequate.
Many larger-capacity and multi-zone systems use 230V power and require a properly sized branch circuit, disconnect, and wiring installed according to the nameplate and local code. If the electrical panel is distant, full, or needs an upgrade, installation costs can rise. Get an electrician’s estimate before comparing a plug-in system’s price with a hardwired multi-zone system’s equipment price.
Do not choose 115V solely for convenience if the required capacity or head combination calls for a different setup. The right voltage is the one specified for the exact equipment, installed safely—not a feature to adapt around.
How to Plan a Mixed-Head System
Match the head to the room
Choose a wall unit where straightforward access and simple servicing matter. Consider a cassette for a room with a suitable suspended or accessible ceiling and enough room for drainage and maintenance. A ducted air handler mini split can hide the equipment and serve multiple outlets, but duct design, static pressure, insulation, and access panels need careful planning.
Size for the building, not a rule of thumb
Room area is only one input. Insulation, windows, ceiling height, air leakage, solar exposure, and local weather all affect heating and cooling loads. For ducted zones, account for duct losses and airflow distribution. A load calculation is a stronger basis for selection than choosing capacity solely by square footage.
Get the full installed-cost picture
Compare the condenser and indoor heads together with line sets, branch boxes if required, condensate pumps if needed, mounting hardware, electrical work, permits, and labor. Confirm what the advertised package includes. Ask whether a warranty requires professional installation or documented commissioning.
Bottom Line
You can mix wall, cassette, and ducted indoor units on some multi-zone mini splits, but only when the manufacturer approves that exact combination. Verify capacity, piping, controls, cold-weather output, and electrical requirements before you buy. A DIY-friendly connection can reduce some installation steps; it does not remove the need for correct refrigerant practices, safe electrical work, and proper commissioning.
For a reliable comparison, request model-specific compatibility confirmation from Zone Air, MRCOOL, or Senville, then price the complete installed system—not just the condenser or the lowest-priced head. That’s the best way to avoid ordering a combination that looks right on paper but cannot deliver the comfort your rooms need.