Pioneer Diamante vs MRCOOL DIY: Real Differences for Homeowners
If you're diving into the world of multi-zone ductless mini-split installs, the Pioneer Diamante and MRCOOL DIY systems are two popular options that consistently pop up in conversations. Both brands offer multi-zone solutions that empower homeowners to upgrade their HVAC without the endless calls to technicians, but the devil is in the details.
In this post, we’re going to break down the true DIY aspects, the nitty-gritty of sizing a 3-zone system, electrical realities, and how these units perform in cold climates. Plus, I'll sprinkle in relevant pricing examples from Zone Air’s 3-zone wall-mount kits (about $4,100 to $5,600) so you can get a realistic picture of Click for info what to budget.
What Does “True DIY” Really Mean?
One of the biggest selling points for brands like MRCOOL is the claim of “DIY friendliness.” But what does that really mean when you’re staring at a wall and a bulky condenser outside? Here’s the reality:
- Pioneer Vacuum and Flare Install: Pioneer Diamante systems generally expect you to do a professional-style, vacuum and flare install. This means you need a vacuum pump to properly evacuate moisture and air from the refrigerant lineset, plus a flaring tool to connect copper lines. This setup aligns with traditional HVAC contractor installs.
- MRCOOL Pre-Charged Lines: MRCOOL DIY units feature pre-charged quick-connect linesets, meaning the refrigerant is already sealed in the lines. You literally connect the indoor and outdoor units like Legos, cutting down the potential for leaks and eliminating the need for vacuum pumps or flare tools. That's true DIY in my book — if you have a drill and a 3-inch hole saw or core bit, plus a level, you’re mostly set.
However, don’t get too excited calling MRCOOL “plug and play.” While the quick-connect lines sidestep the vacuum and flare hassle, you still need to plan your wall penetration carefully — a 3-inch hole for the lines, drain, and electrical wiring. Using a drill with a hole saw or a 3-inch core bit is your friend here, and keeping things level is essential to proper drainage and unit operation.
Sizing a 3-Zone System: BTU Per Room Planning
One of the trickier but necessary parts of planning a multi-zone mini-split system is sizing it right. Oversize the system, and it short-cycles wasting energy — undersized, and you run out of heating or cooling before you want to. Pioneer, MRCOOL, and Zone Air 3-zone wall-mount kits typically come in sizes meant to cover anywhere from 1,200 to 2,000 square feet comfortably, but let's break that down:
Room Type Suggested BTU Example Room Size Living Room / Family Room 9,000 - 12,000 BTU 150-200 sq ft Bedroom 6,000 - 9,000 BTU 120-150 sq ft Office / Small Room 4,000 - 6,000 BTU 80-120 sq ftWhen you’re looking at 3-zone kits, you might see configurations like 12K+9K+9K or 18K+9K+6K BTUs. Zone Air offers 3-zone wall-mount kits typically around $4,100 to $5,600, depending on the exact rating and included features. Picking or custom configuring your system to match the actual heat loss or gain per room leads to better efficiency and comfort.
Electrical Reality: 115V vs 230V and Electrician Costs
A big-hidden cost some DIYers push aside is the electrical install. What voltage will your new multi-zone mini split need, and can your home handle it? Here’s what to know:
- MRCOOL DIY Units usually run on 115-120V circuits, which means you can probably wire them into an existing breaker or add a 15A or 20A breaker without major upgrades. No electrician needed if you’re confident and follow your local electrical codes and permits. But DIY electrical work has resale implications — permits and inspections do matter.
- Pioneer Diamante Systems
One tip from my installer days: if your breaker panel doesn’t have enough slots or capacity, upgrading the panel could run $1,500 to $3,000, and that’s above the HVAC install budget. So knowing Click for source your breaker size needs — often 15A or 20A for 115V or up to 30A for 230V units — is crucial before ordering.
Cold-Climate Heating Performance: -13°F vs ~5°F
Homeowners in cold climates should be critical of heating specs labeled “cold climate.” Here are the key points:
- Pioneer Diamante
- MRCOOL DIY
In real house terms: if your winter temps frequently drop below zero, the Pioneer Diamante or Zone Air’s offerings might save you money on heating bills over time, despite higher upfront costs. MRCOOL’s DIY system is a solid budget choice in mild to moderate winters.
Warranty Concerns: DIY Warranty Protection
Warranty fine print can make or break your satisfaction after installing your own unit:
- Pioneer
- MRCOOL
- Zone Air
- MRCOOL
Pro tip: Always ask for the exact warranty terms before purchase. Does the warranty cover labor and parts? Does it require professional permits and inspections? These details affect resale value as well.
Tools You Need for a DIY Multi-Zone Install
Regardless of brand, here’s what you should have in your tool kit:
- Drill with 3-inch hole saw or 3-inch core bit for drilling the hole through the wall
- Level for accurate indoor unit mounting and proper drain line pitch
- Wrenches or ratchet sets (depending on if you’re vacuum and flare installing a Pioneer system)
- Vacuum pump and manifold gauges (for Pioneer units requiring vacuum and flare)
- Electrical tester and possibly conduit and connectors, depending on your electrical circuit situation
- Refrigerant leak detector (ideally as a precaution)
Summary: Which DIY Multi-Zone System Is Right for You?
Feature Pioneer Diamante MRCOOL DIY Zone Air 3-Zone Kits True DIY (No vacuum/flare) No – requires vacuum and flare tools Yes – pre-charged quick-connect lines Varies, mostly pro installs Electrical Voltage 230V (dedicated circuit with electrician) 115V (usually plug-and-play circuit) Typically 230V, electrician needed Cold Climate Heating Down to -13°F Down to ~5°F Varies by model Budget Range for 3-Zone $4,100+ (varies) $3,500+ (varies) $4,100 - $5,600 Warranty Conditional on professional vacuum and flare DIY friendly with caveats Varies - generally pro installTo wrap it up: if you're hunting for the ultimate in DIY simplicity and minimal tool investment, MRCOOL’s pre-charged lines are a game-changer. However, if you want better cold climate performance and are comfortable with vacuum pumps, flaring tools, or can afford a pro install, Pioneer Diamante is a top choice. Zone Air offers solid 3-zone kits with pricing around $4,100-$5,600 if you need something between the two or have a professional already on call.
Whatever you choose, make sure the system’s size matches your rooms’ BTU needs, your home’s electrical setup can handle the load (and permits are secured if required), and you have the right tools on hand to complete the job smoothly without surprises.

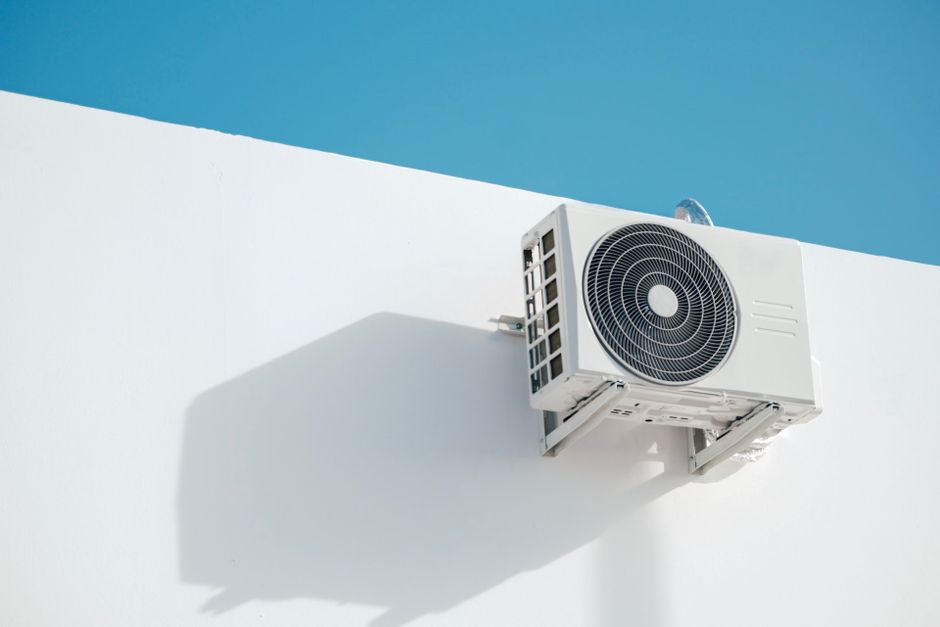
If you’d like a step-by-step checklist for your DIY multi-zone install, let me know — I’ve been around these installs for 12 years and love preventing project snags that ruin weekends.